
How I Create Professional Brand Illustrations in 60 Seconds (That Would Cost $300 Each)
No design skills, no illustrator, no Photoshop—just a simple workflow and AI doing the hard parts

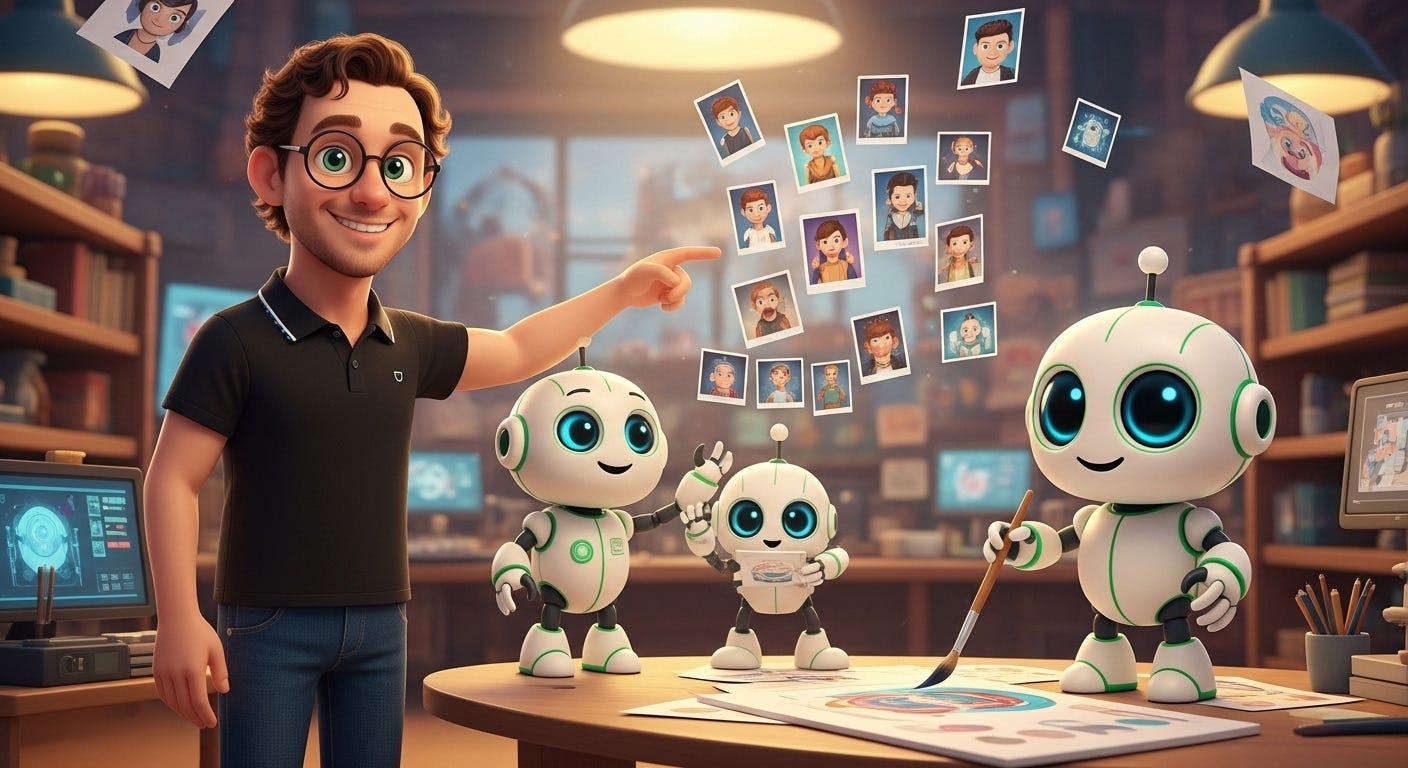
You see that image right above this? It was, very obviously, created by AI.
Maybe you noticed every one of my articles has a similar image with the same animated characters. So do my X, LinkedIn, and Reddit banner photos.
Each of those takes me about a minute to create. I don’t even write the prompt to create them.
They’re not perfect, but if I had to hire an illustrator I’d be looking at a few hundred dollars each. I certainly could not have done it myself, regardless of how much effort I was willing to spend.
It’s a good example of using AI to do what I would have never thought cost effective before.
Why do it? Well… partly because it’s fun. But really because now every time my readers come to my newsletter, there’s a character they will become familiar with over time.
The animation of myself, and that little robot, I think we’ll call him Erni, will come to represent the ideas I write about.
Here I’ll show you how I set this up and how you can too.
My visionary genius
Before, the imagery on my newsletter was inexistent and thus un-inviting. I was bored with my lack of visuals.
It’d be nice to think all that matters is the content: my walkthroughs, case studies, strategies. But the reality is visuals draw people in more than words do.
It needs to represent my brand, and be consistent. The consistency is really the main challenge with using AI.
For every post I have a scene that’s being played out in an animated image.
The scene always has an animated avatar of me and Erni the robot (duplicated as many times as needed).
Given this newsletter’s about ways to have AI do more of your marketing, Erni pretty much represents that. So in each scene you see me doing nothing, and Erni doing the work.
And as you can see, it’s consistent!
It’s not perfect. Often it wants to change small details of Erni. But everything is close enough to create brand recognition.
How I did this
I use my Notion agent to help me with all my work. Here’s an article on how I set that up:

The first thing I did was write my concept, what I needed, the system I needed for producing these consistent graphics and what the media was going to be for, into a task.
I included some examples of other creators doing good AI imagery. If they had articles explaining how they did it, I included that too.
Then, all I did was prompt the notion agent to do some research and figure out how to pull this off for me.
It showed me stuff I was expecting: MidJourney, ChatGPT, etc..
But it also found something I hadn’t seen before. Whisk.
A few minutes of investigating later, I knew whisk what the tool for the job.
How Whisk works
Whisk is a tool from Google’s labs.google.
The tool breaks the image you’re trying to create into 3 variables:
Subject/s - The characters in the photo.
Scene - The place the photo takes place.
Style - The style you want the image in.
For each variable, you can either prompt what you want, and it generates the asset for you, or you can upload the image directly.
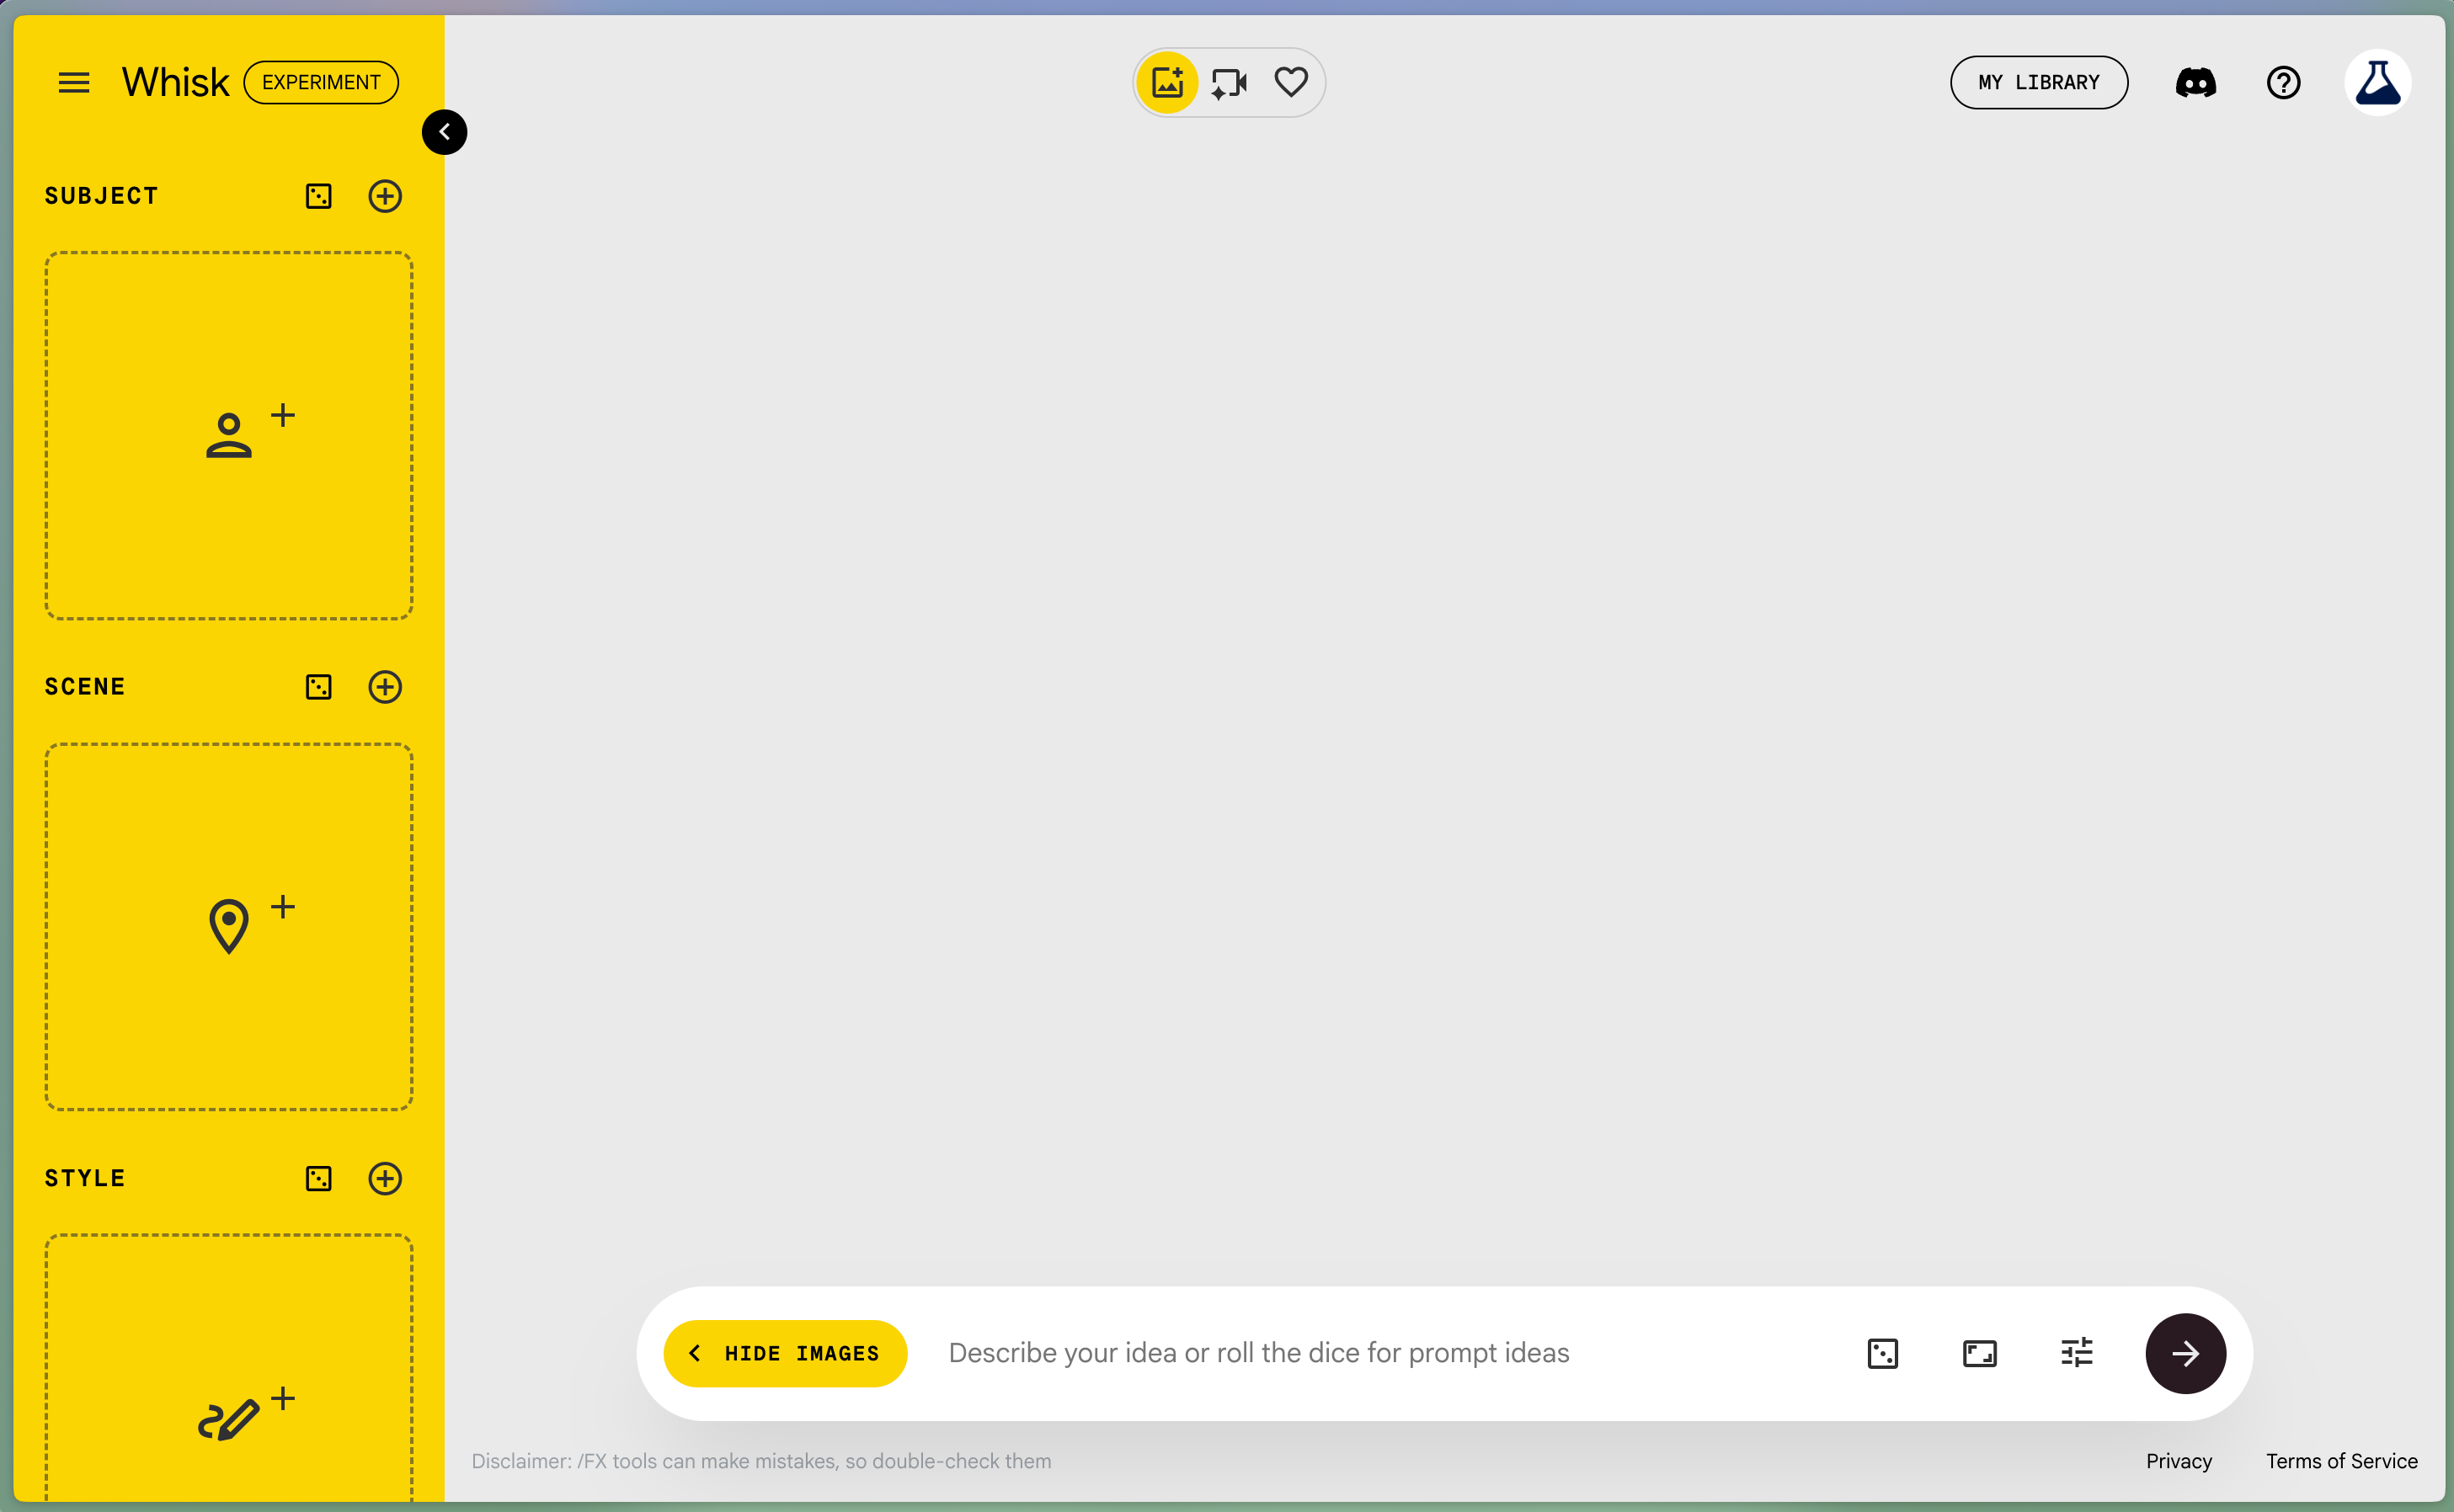
It uses Nano-Banana to accurately place your assets into the photo.
The trick: everything needs to be in the right style
The first stage of working with any AI tool is frustration.
After more error than trial, I learned it’s really not enough to put your different assets in and expect consistency. There seems to be a lost in translation effect with the word consistency itself.
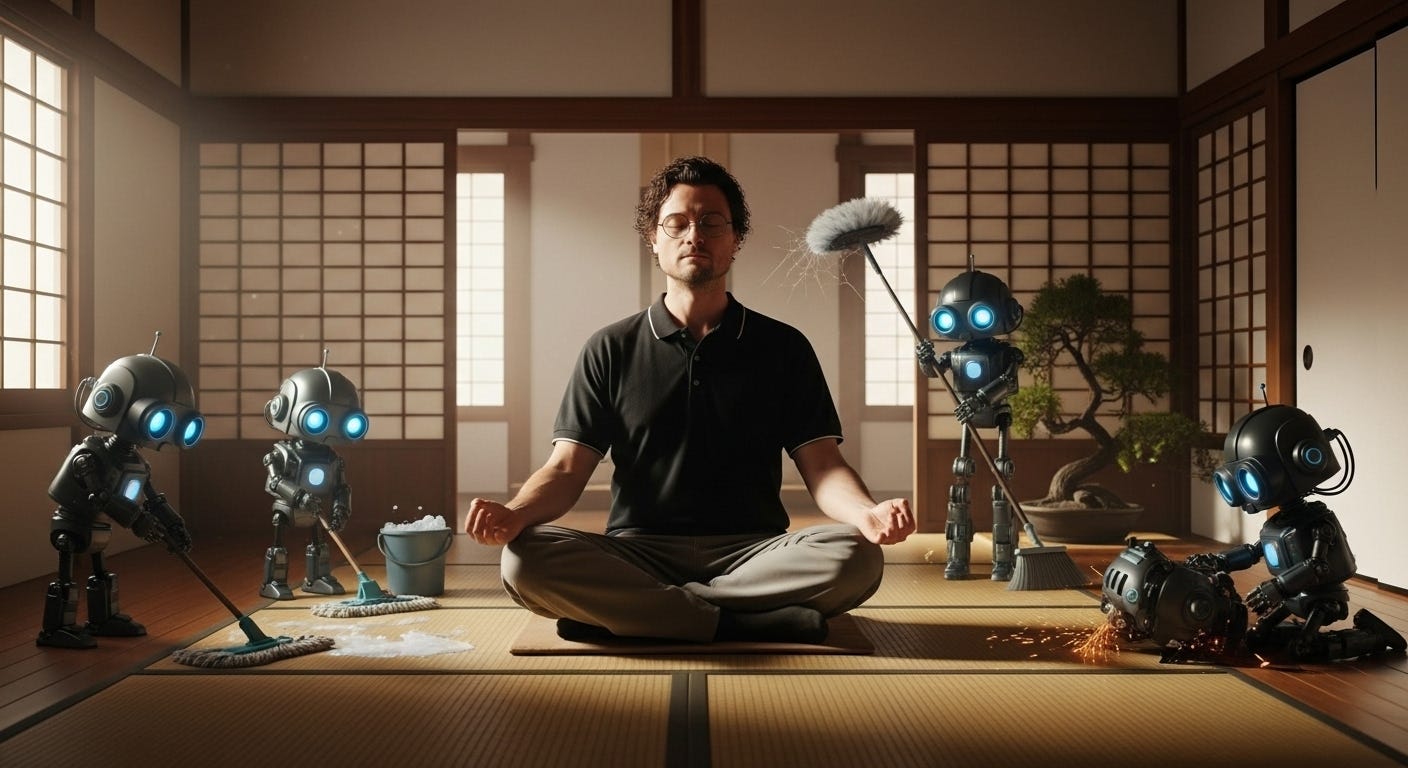
Here is an early example. The scene is the pixar/illumination style animation that I asked for in the style.
But image of me looks more photorealistic. It’s consistent with the image I gave it of me, but not with the scene. (Also in real life I’m much better looking).
I quickly realized that each variable I gave it had to already be in the correct style.
Because the subjects are the same every time, I only had to create them once. I moved over to ChatGPT for this.
I uploaded the profile picture I use for social media, and told it to create a version of this in illumination’s animation style.
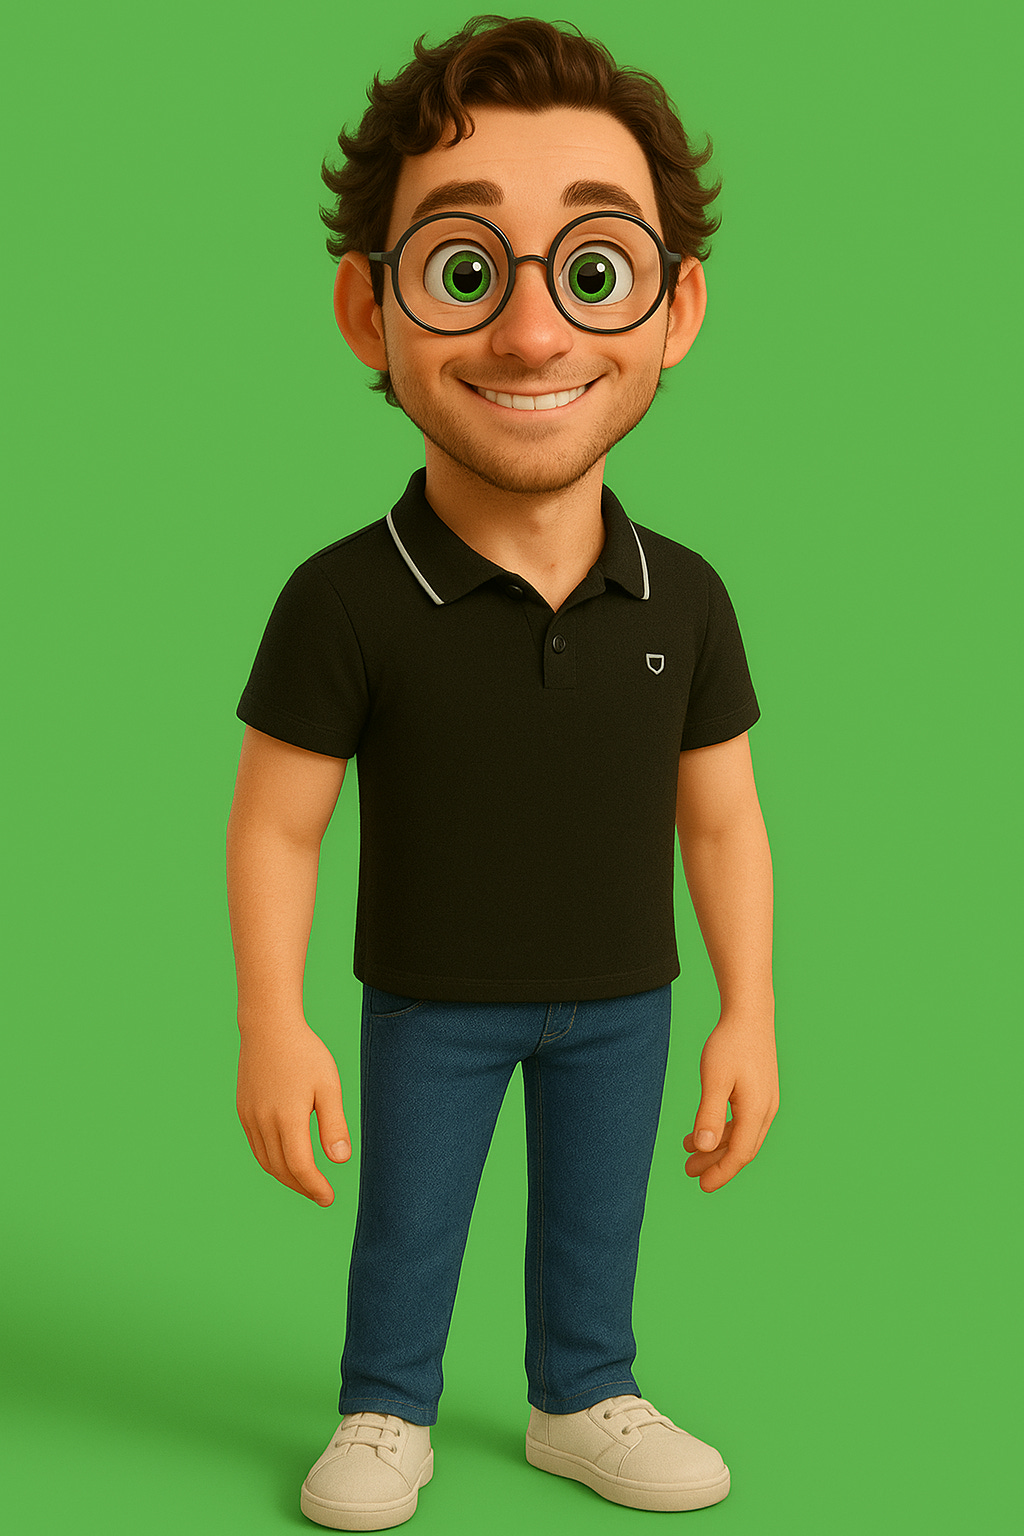
Pretty good result.
Next was the robot. I didn’t have a particular robot in mind, so this took more prompting. But after some back and forth I ended up with this character:
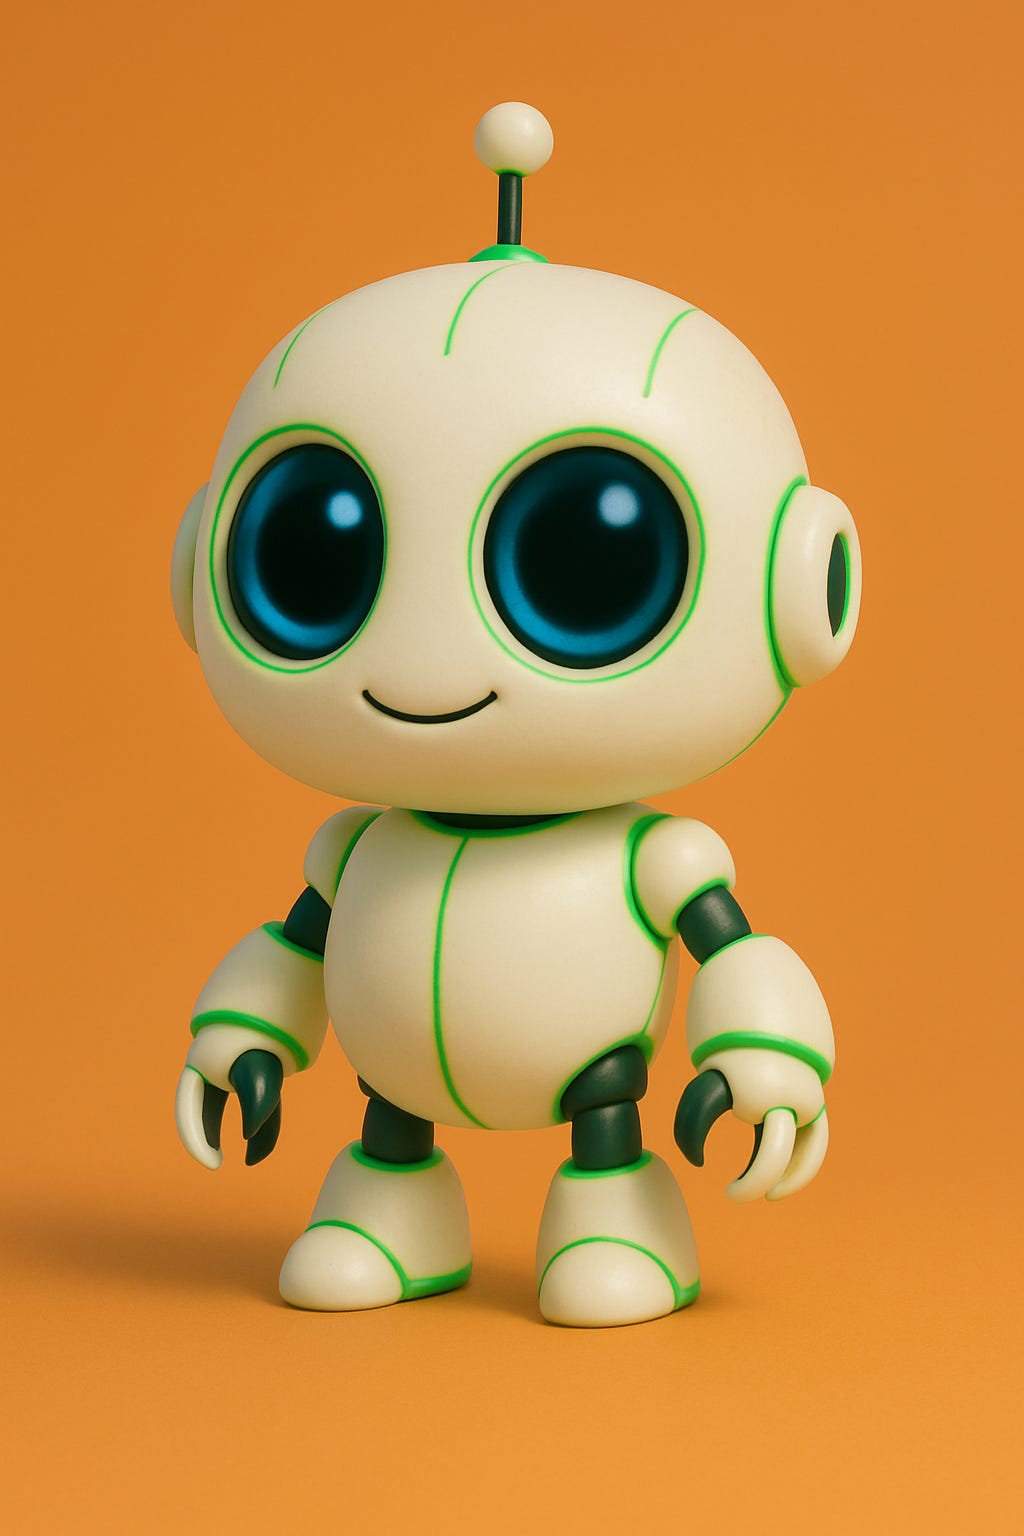
As you can see, it’s already in the illumination animation style.
The scene is different every time however. I got the style consistent by including my style prompt with the scene prompt.
This is the style prompt I give it every time:
Illumination Studios animation style, 3D CGI, soft rounded character design, oversized expressive eyes, simplified toony anatomy, chunky proportions, soft diffuse lighting, warm color palette, glossy eye highlights, smooth surfaces, vibrant saturated colors, Pixar-quality render, family-friendly appeal
This goes in the style variable in Whisk. BUT to make sure everything is consistent, it is also in the bottom of the scene prompt. Like this:
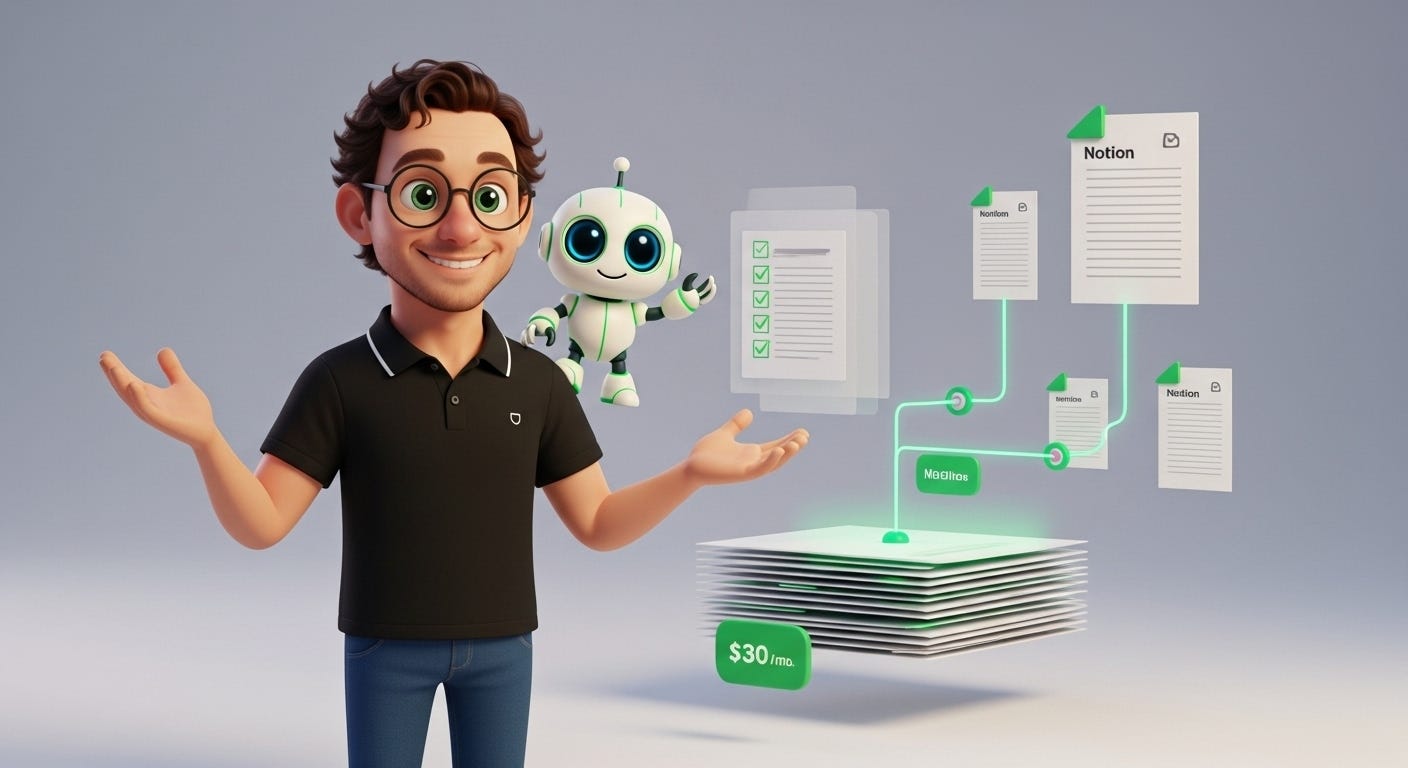
Modern digital workspace environment with floating Notion interface elements, organized document pages arranged in systematic layers, clean white background with subtle Matrix Green (#20C964) accent lighting highlighting connection points between pages,

Illumination Studios animation style, 3D CGI environment, soft rounded architecture, simplified geometry, warm diffuse lighting, vibrant harmonious color palette, gentle depth of field, soft atmospheric haze, clean organized composition, slightly exaggerated proportions, golden hour lighting, family-friendly inviting atmosphere, Pixar-quality render, no harsh shadows
Here’s the image these variables created.
Making it repeatable
The last prompt you need to be aware of is the main prompt. This is the core query that puts all the assets together and generates the final image.
The scenes are unique every time. And they need to be pretty intricate. It needs to include:
Character placement and positioning in frame
What each character is doing (specific actions)
Character interactions and relationships
Arm movements and gestures
Direction characters are facing from camera
Background character details (if any)
Foreground/midground/background elements
Lighting direction and mood
Camera angle and framing
If you’re anything like me, you may be feeling a bit lazy at this point, and don’t want to do all this prompting.
Relax. I’ve done all the avoiding work for you.
In fact, once I got the system down, I stopped writing all the prompts altogether.
Every time I finish an article, I tell my Notion agent to generate all the Whisk prompts for the article.
To understand how I did that you need to:
Read this article on how I set up my Notion AI - The same article I mentioned earlier.
Know that I made a playbook/SOP on how I want these prompts written.
That playbook includes the default style prompt, how to come up with the setting and write the prompt, and how to put everything together into the main prompt.
If you want that playbook, email me and I’ll send it over.
If you’re shy, the article on setting up my Notion AI includes how I create these playbooks.
The final workflow
After having all this together, here is the final workflow that takes about 3 minutes and results in all my newsletter hero images.
Finish article in Notion
Prompt Notion AI “Create whisk prompts for this article using AI Brand Asset Generation Playbook”
Open Whisk.
Upload ME avatar and robot images
Paste setting prompt from Notion AI
Paste style prompt from Notion AI
Paste main prompt from Notion AI
Hate first image. Be picky for no reason.
Change main prompt slightly, or ask Notion AI to go a different direction.
Like output. Download.
Upload to substack.
Frankly, it took me longer to write this article for you than it did to do ALL of this.
Have fun.